
Support
Pick what is happening and the short answer opens right there. The rest of the manual is further down, one topic at a time.
Rather ask a person? Write to us
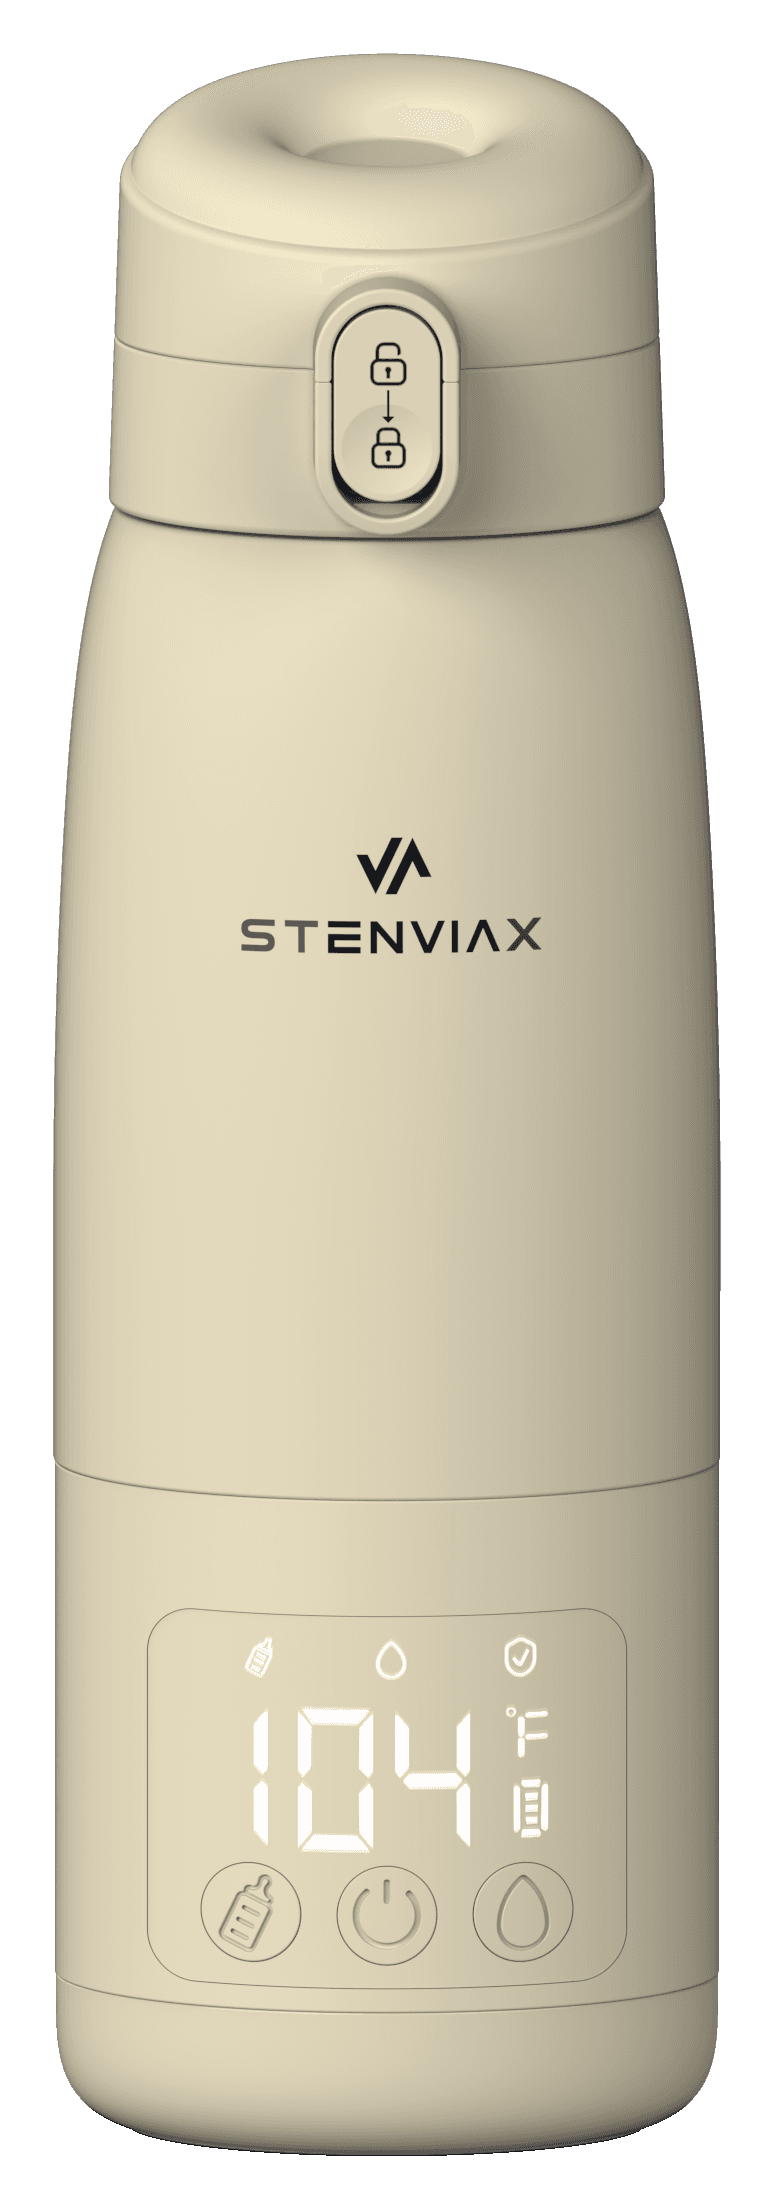
What is happening?
Pick the one that fits and the answer opens here.
The display is showing a code
E2 means the chamber is empty, or the liquid has been shaken away from the sensor in the bottom of it. Pour milk or water in and the code clears on its own. Leave the warmer standing still while it runs, because shaking it mid-cycle can move the liquid off the sensor and trigger E2 again. If the display reads something else, tell us exactly what it says.
It will not charge
Use the 45 W PD adapter and the braided USB-C cable that came in the box. Those two take it from empty to full in about 50 minutes, and a different adapter or cable is the usual reason a charge is slow. If the battery is completely flat it has to take on some charge before the heater can run, so charge it for 30 minutes and then switch it on. After that it can charge and heat at the same time.
How do I clean it
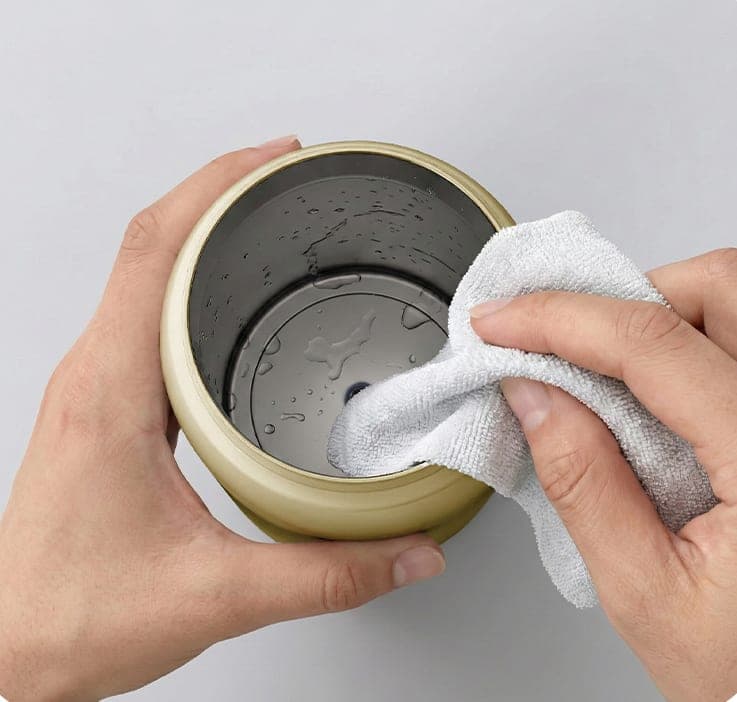
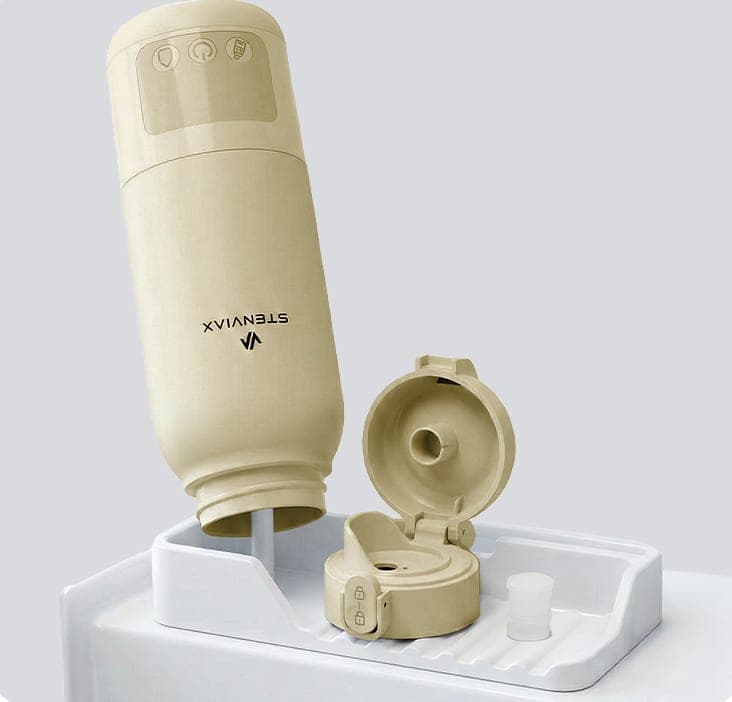
Rinse the chamber and the lid with clean or mildly soapy water as soon as you have poured. Separate the lid and the silicone parts, stand the warmer upside down on a rack so the inside drains, and let everything dry before it goes back together. It never goes in water and never goes in a dishwasher, so wipe the buttons and the charging port with a damp cloth instead.
How do I use it
Hold the power button for three seconds, press the milk button and choose 92, 95 or 98 °F. The temperature flashes, it starts on its own after three seconds, and it beeps twice when it gets there. The water modes are 98, 104, 110 and 122 °F, and the milk and water buttons pressed together start the 149 °F clean cycle for 20 minutes.
Something else
The printed manual is set out below by topic, including the safety lines and the questions the other topics do not already answer. Both printed documents are downloadable in full. If none of it covers what you need, the form at the bottom reaches a person.
The manual, by topic
Everything the printed manual and the quick start guide say, in six parts. Both documents are also downloadable whole, at the foot of the page.
Using it
Every step, from switching it on to charging it.
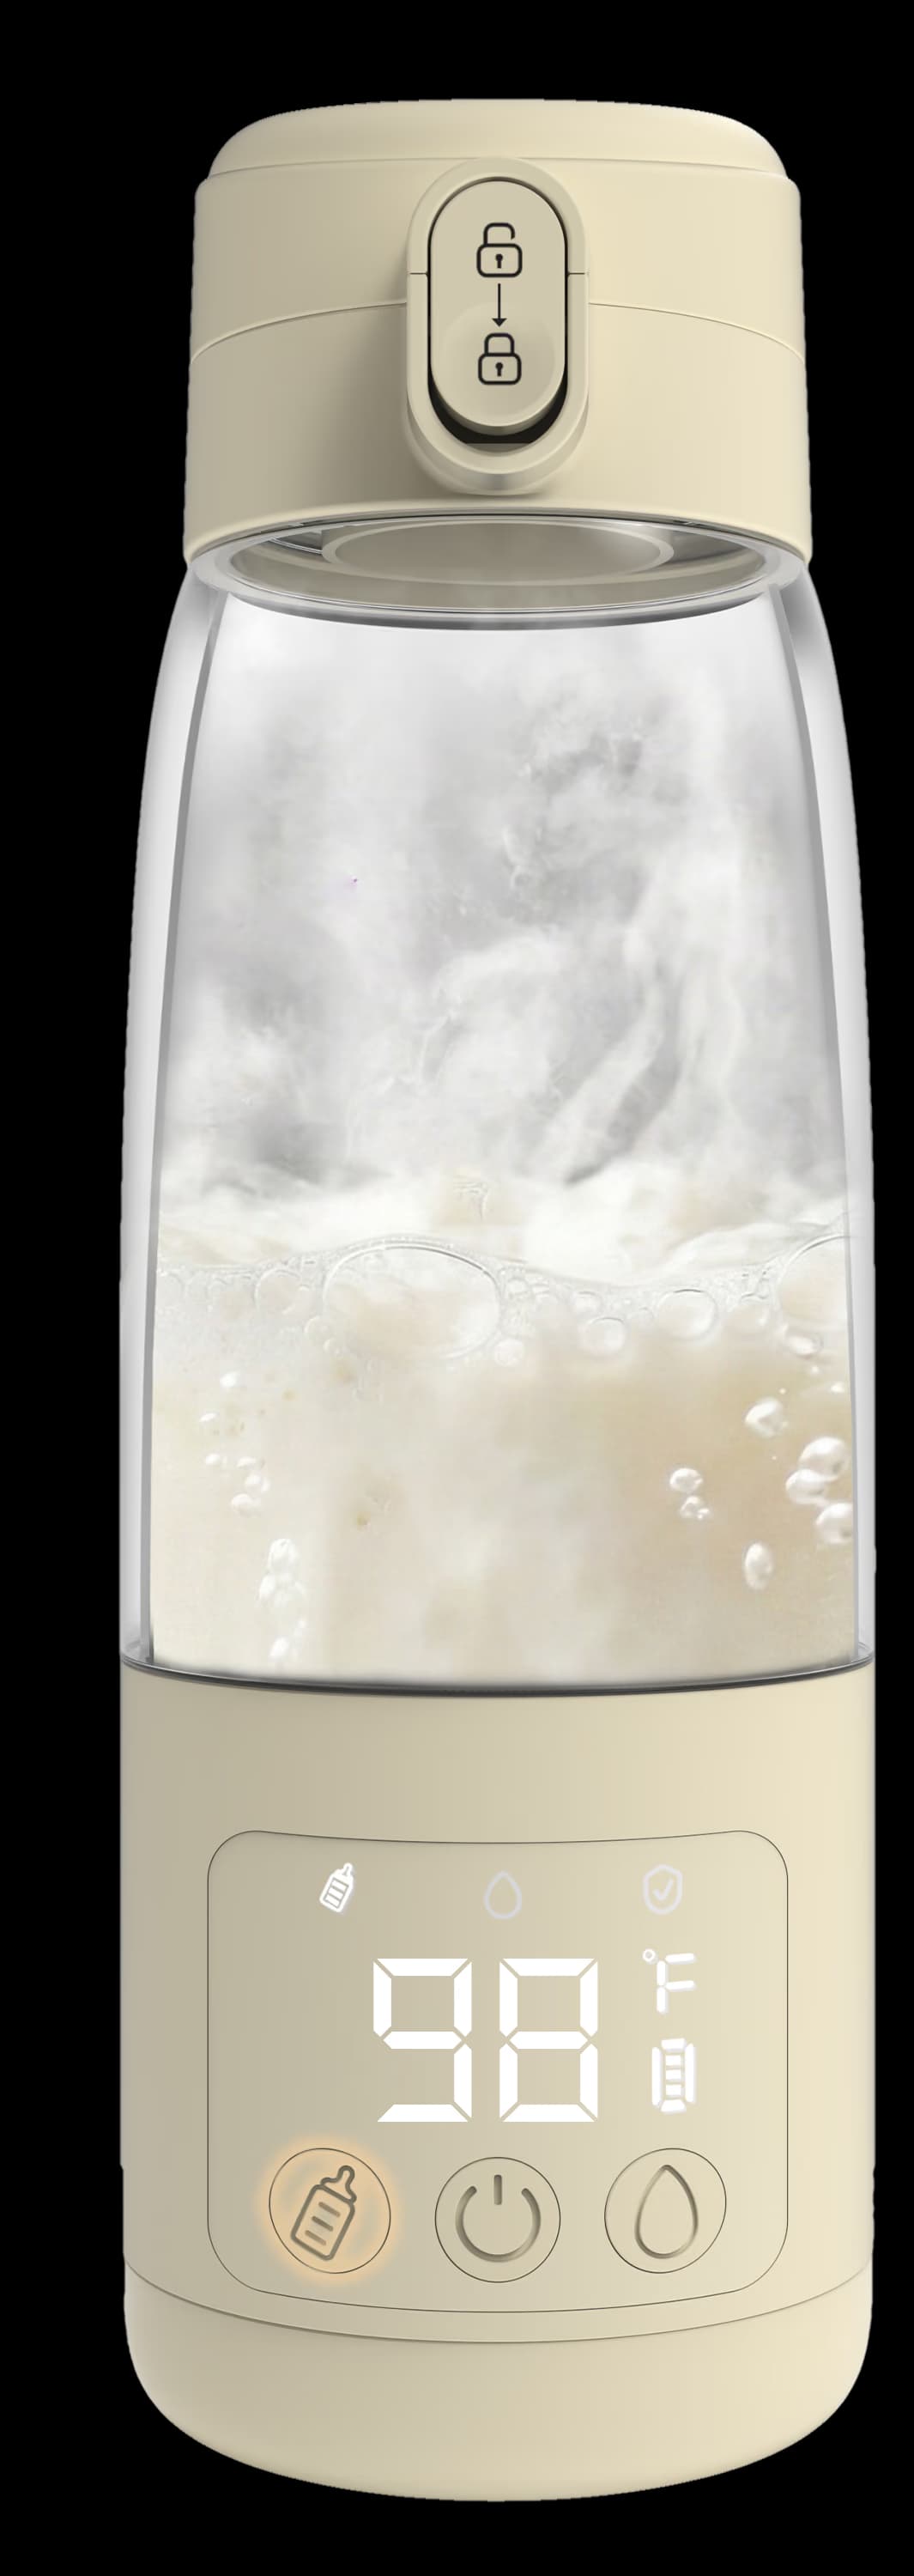
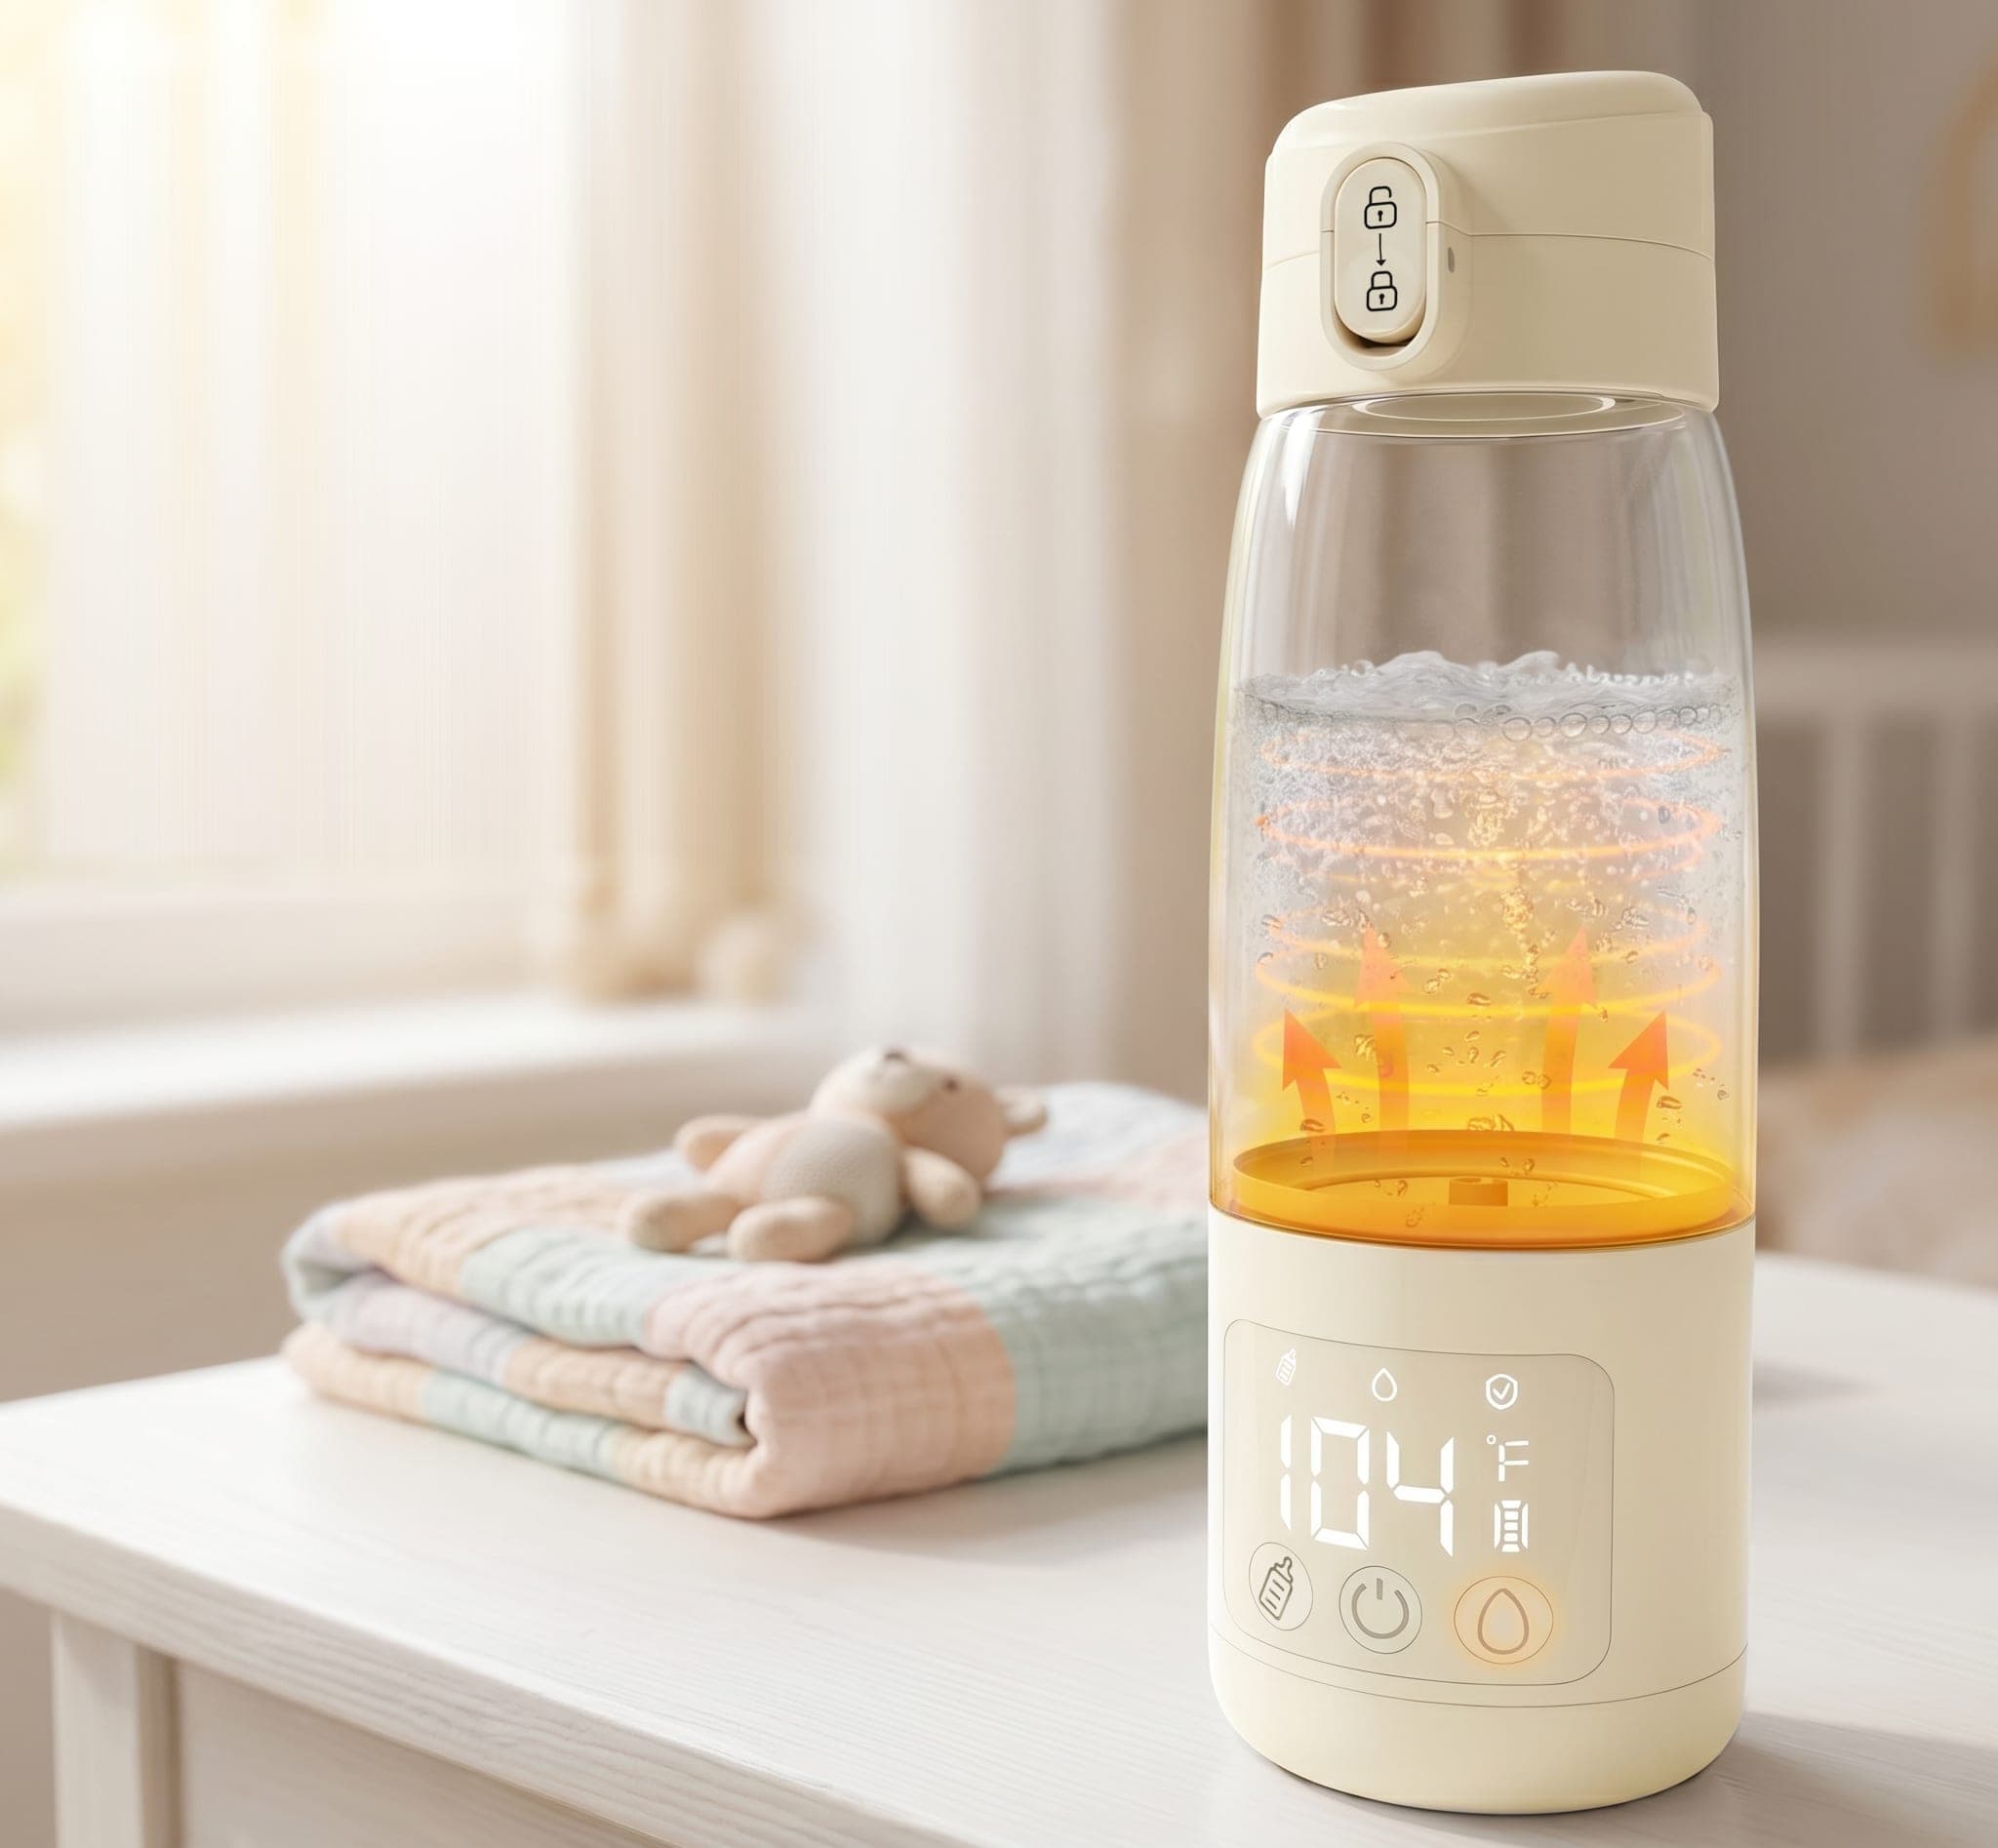
Warming breast milk
- Hold the power button for three seconds. The screen shows the water, milk and pasteurisation symbols.
- Press the milk button and choose 92, 95 or 98 °F.
- The temperature flashes. After three seconds the warmer starts on its own.
- It beeps twice when it reaches the temperature you set.
Heating water
- Hold the power button for three seconds.
- Press the water button and choose 98, 104, 110 or 122 °F.
- The temperature flashes, then the warmer starts after three seconds.
- It beeps twice when the water is ready.
Running the clean cycle
- Press the milk and water buttons together to start pasteurisation at 149 °F.
- The cycle runs for 20 minutes.
- The screen shows a running square and the pasteurisation symbol stays lit until it finishes.
Charging it
- Use the 45 W PD adapter and the braided USB-C cable that came in the box. Empty to full takes about 50 minutes.
- If the battery is completely flat, charge it for 30 minutes before you switch it on.
- After those 30 minutes it can charge and heat at the same time.
- Press the silicone cover back over the charging port when you unplug it.
Cleaning and care
Two minutes after a feed keeps the chamber fresh for the next one.
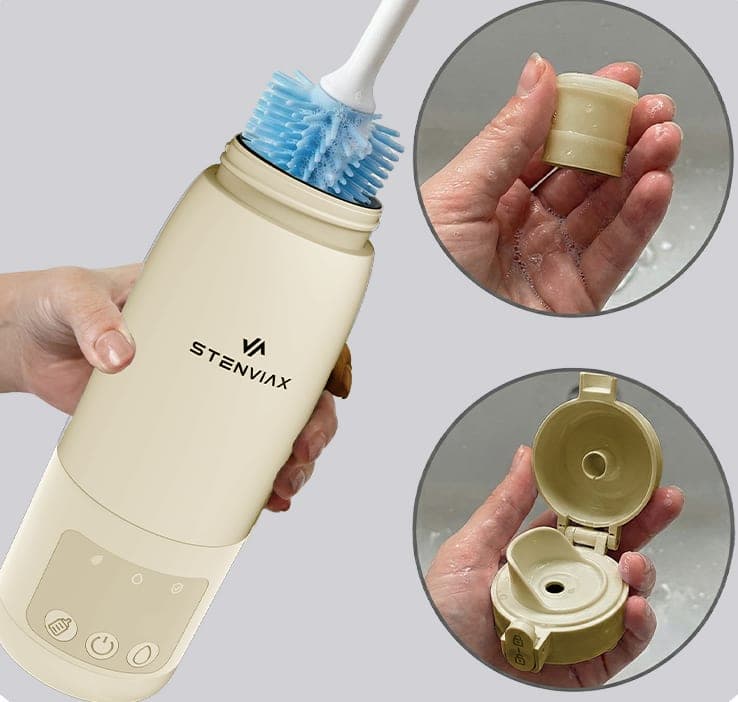
After every feed
- Seal the port first
- Press the silicone cover firmly over the charging port before you clean the warmer, and keep the port dry the rest of the time.
- Rinse straight after a feed
- Rinse the chamber and lid with clean or mildly soapy water as soon as you have poured. Milk residue left in the chamber is what causes an odour later.
- Dry it upside down
- Separate the lid, the silicone parts and the warmer, then stand the warmer upside down on a rack so the inside drains. Everything must be dry before it goes back together.
- Never submerge it
- The warmer does not go in water and does not go in a dishwasher. Wipe the buttons and the port with a damp cloth instead.
Before you heat
- Before the first use
- Charge it fully, then clean the chamber with soapy water and vinegar, or leave it standing open for twelve hours, to clear any smell from packing and transport.
- Shake before heating
- Nutrients in stored milk settle. Shake the bottle before heating so they are evenly spread, and leave the warmer still while it runs.
Troubleshooting and codes
What the display is telling you first, then the manual's own fixes, each with the cause it gives.
What the display is telling you
- What it means
- The chamber is empty, or the liquid has been shaken away from the sensor in the bottom of it.
- What clears it
- Pour milk or water in and the code clears on its own.
- What stops it coming back
- Leave the warmer standing still while it runs. Shaking it mid-cycle can move the liquid off the sensor and trigger E2.
If the display reads anything else, write to us and say exactly what it shows.
If something is not right
The warmer has developed a smell after a few uses.
Milk or formula residue left in the chamber spoils.
What to do
- Rinse the chamber and lid straight after every feed.
- Separate the lid and stand the warmer upside down to drain, and let it dry completely before reassembling.
There is sediment stuck to the bottom after heating.
Nutrients in milk and formula settle and stick during heating.
What to do
- Shake the milk well before and during heating.
- Clean with a brush and soapy water. For a stubborn deposit, heat 4 oz of water to 122 °F, add about 50 g of baking soda, soak for three minutes and rinse.
The battery does not last long.
Unplugging before a full charge, or leaving the warmer on afterwards so it keeps the liquid warm.
What to do
- Charge it fully before you unplug it.
- Turn it off as soon as the feed is warm rather than leaving it holding temperature.
It is charging slowly.
A different adapter or cable is being used.
What to do
- Use the 45 W PD adapter and the braided USB-C cable that came in the box. Those take it from empty to full in about 50 minutes.
It will not heat when the battery is flat.
A completely flat battery has to take on some charge before the heater can run.
What to do
- Charge it for 30 minutes, then switch it on. After that it can charge and heat at the same time.
Safety
The lines from the manual that are worth reading twice.
What goes in it
- Never run the warmer empty. There must be water or milk in the chamber.
- Do not put dry ice, carbonated drinks or acidic juices in the chamber.
- For breast milk, the manual sets 98 °F as the highest temperature to use.
Water, heat and the battery
- Do not immerse it in any liquid, and keep it off a hot stove, burner or oven.
- It holds a lithium battery. Keep it out of a microwave, a disinfection cabinet and a drying oven.
- Unplug it once the battery is full, and keep the charging port clear of dust.
Locking the lid
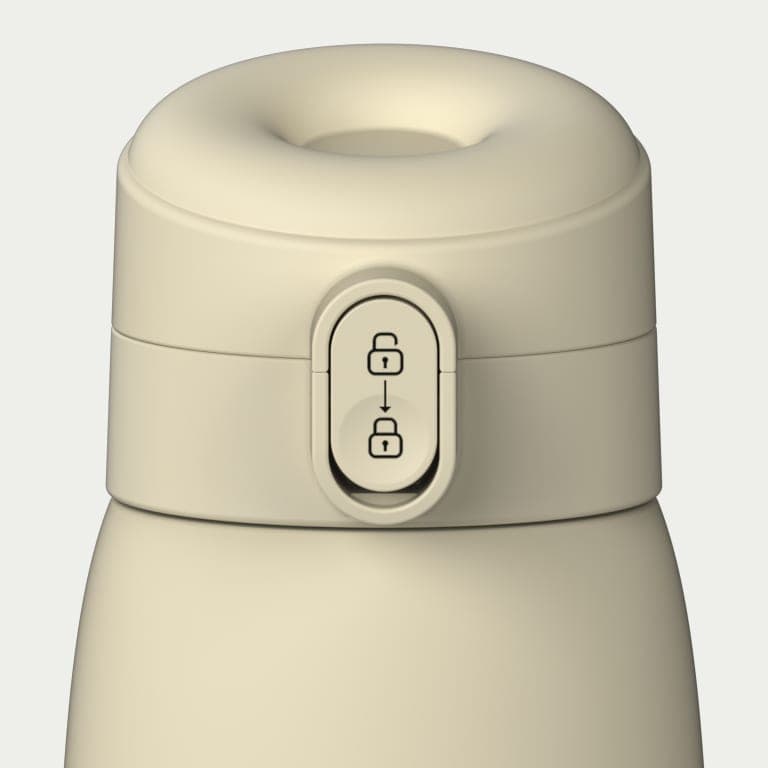
- Push the lock button up and press it to release and open the lid.
- Press the lock button down to secure the lid and keep it from leaking.
Questions
The ones the other topics do not already answer.
Materials and fit
What the chamber and lid are made of, and how a bottle meets it.
- Chamber
- Food-grade 316L stainless steel
- Lid
- BPA-free
How a bottle meets it
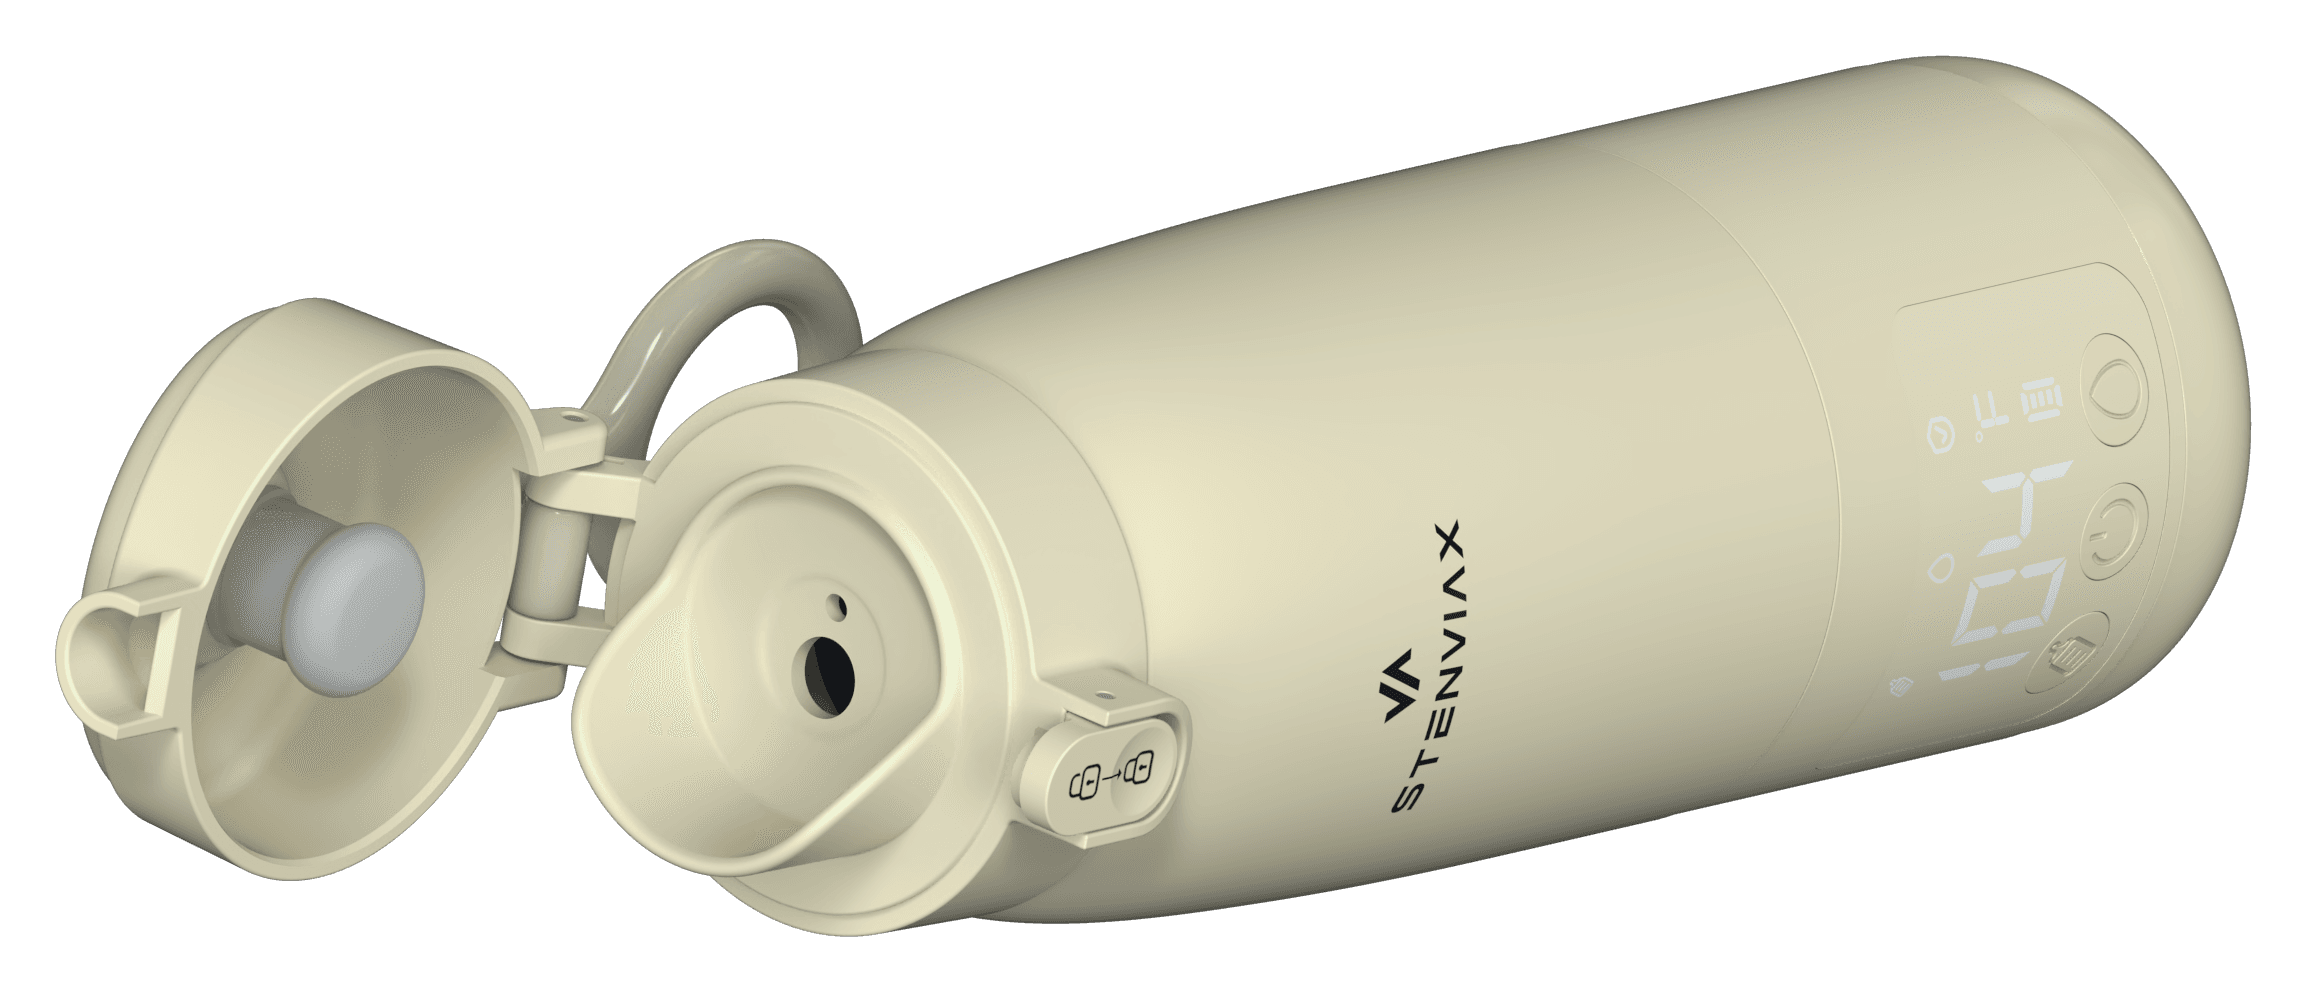
Milk warms in the 17 oz chamber and pours into your own bottle, whatever the brand.
Reach a person
We read every message and reply from support@stenviax.com, usually within two business days. Send an order number if you have one.
The printed documents
Write to us
Tell us what happened and what the display showed, if anything. Include an order number if your question is about an order you have already placed.